How To Design a Blog Like a Pro The First Time
When you first start your blog you will be going through so many emotions. Excitement turns into curiosity. Than you do some research to see how you should design your blog. Than your intimidated by the polished mommy blogs you have been seeing. That’s what I’m here for. I want you to get that excitement back. Turn that intimidation into confidence. It took me some trial and errors to have a kickass blog. But let me share with you what I did and the things I use. ‘How to design your blog like a pro the first time.‘
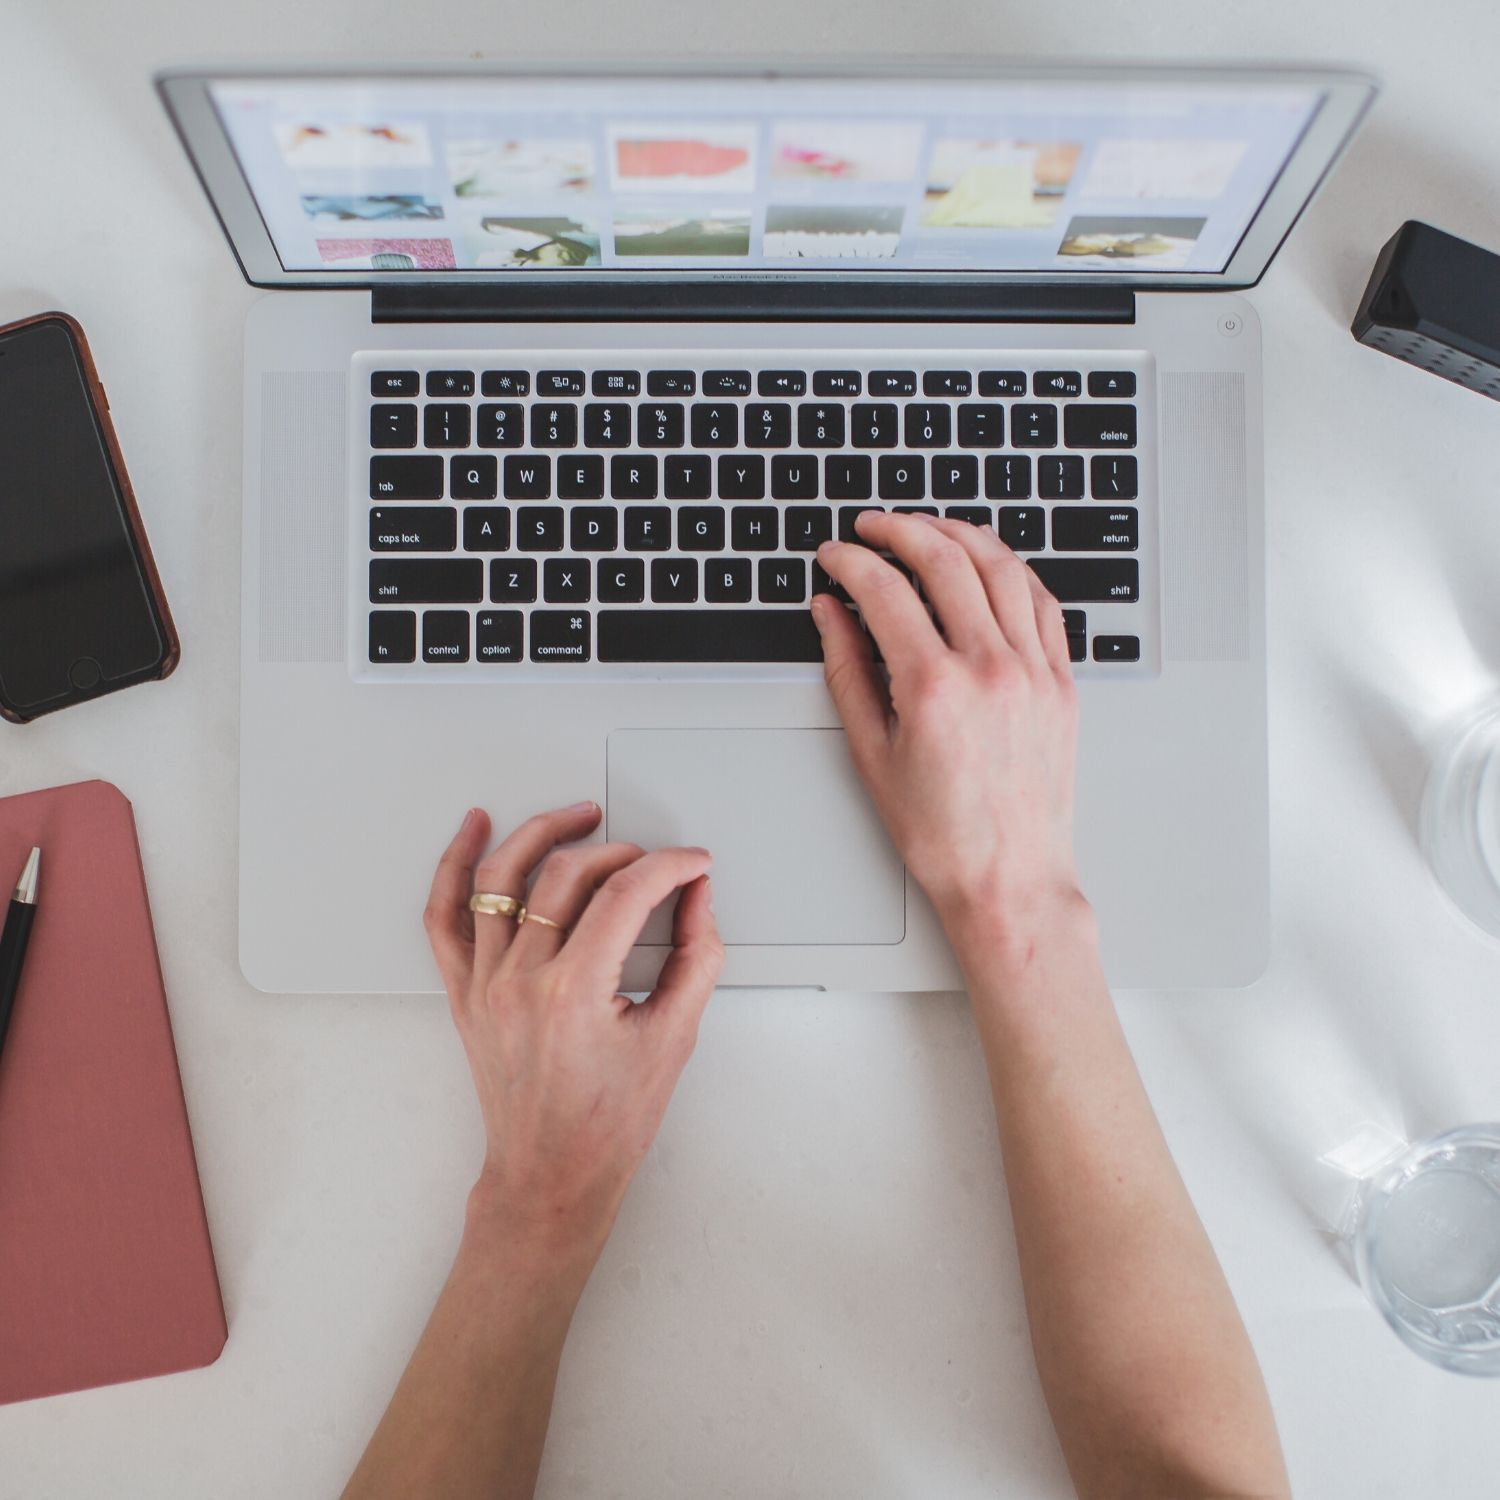
The tutorials I give will be for WordPress users. However most of these programs can be used on any platform that you use.
MENU
You should start here. This will be the foundation of your blog.You should have categories for your blog topics. For lifestyle bloggers, I know we have focus a bit on everything. (Recipes, Family, Finance, Romance,Kids,Fashion and more) But don’t make more than 6 categories for your main navigation. Your main navigation is your menu that is displayed along the top of your blog.
Tip: Make good use of those sub categories.
For example, if you have a focus on Home. Make that your main category. Meaning that will go on the main navigation bar. But for home you have different things that you can talk about like how to organize your home, decor for your home, how to keep your home safe. So make those as your subcategories. This will go under the home tab.
The benefit:
Your blog won’t look crowded.
When your reader hovers over home, they will have an arrow drop down option where they can click what category they want to go to.
How to do this?
Go to Appearance, Go to menus, Add a category, than add another category but when you drag it under your main category drag it only to the middle. This will make it a subcategory.
SIDEBAR
Do you ever see on blogs where the blogger has that cute picture of them on the side and some social media links? Ok, that’s your sidebar. The only things that should go here is your picture, social media links to your accounts and your recent posts.(optional)
By the way I’m in love with this cute unique pop up that has my Pinterest board and say follow me. Okay, I saw this on like only 2 other blogs. I didn’t inquire where they got it from and I couldn’t find their blog again. Long story short after searching plugins for months,asking group boards and more. I gave up. I stumbled across the blog again and found out the program is from MiloTree website its not a plugin. It’s a 30 day free trial than it’s only 9.00 a month. You can customize the color the pictures and what social media account you use. It can be to gain followers, subscribers and more.
Learn from my mistake. Grab this info now and sign up. LOL. Get your free 30 day trial here.
About Me Image
If your like me you are probably liking the circular images that people have and then they have their bio. Awesome!
Go to Canva.Upload the image you want. Crop it so its circular. Download plugin About me 3000.Upload Image. Customize it. And your done.
Your welcome : )
HEADER IMAGE
Use your imagination. But dont go overboard. Don’t distract your readers. Keep it simple, but cute.
I use Canva for all of my images. Make sure you stay with your brand colors. You should have about 4 colors that you incorporate throughout your blog and pics. All 4 do not need to be used within one picture. If you need help with stock images I offer those services. I offer
FOOTER
Here you should place the privacy policy here. The disclosure should go here as well.(These are free and a simply fill in form).
IMAGES
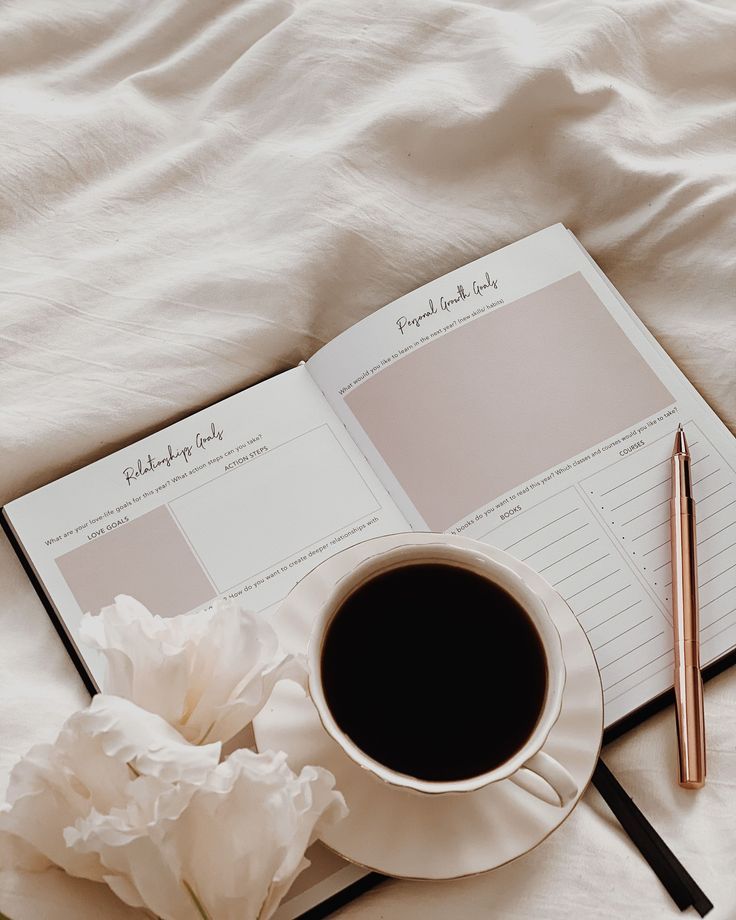
Make your images beautiful but yours. They dont always have to be cute roses and a desk scene. I only use those kind of images for my blog posts.
Your images should compliment your brand colors. If you don’t what branding is for your site. I got you! Read this post here. Now back to your brand colors. Just let your colors just flow through your site. Don’t overcrowd so much in your images.
Your blog images should be:
- image size 735 x 1102 pixels
- no more than 2 fonts
- simple but pop
- bright and colorful
STOP! This is the thing that mind bobbled me for months. How the heck do I change my Pinterest image into a different image that flows with my site?
Okay…I may have confused you so bear with me it is a bit technical. So, have you ever went to Pinterest saw an image that you liked…you clicked it and it went to the site. But the site had different images and not that one.
Okay. Good!
Now you maybe asking why would someone want to do this. This is why: On Pinterest your images should be long and vertical. However, on your blog post itself this may make everything look not so cute and tidy.
So what do you need to do:
Enter a code into each image. (Sorry, I know your giving me the eyeroll. I hate coding too. But honestly I have not come across a plugin that has worked successfully).
The code is
<div style=”display: none;”>
You can find a step by step tutorial for this code and how and where to add it here.
Drop your website link below in the comments.